 |
 |
 |
 |
 |
| Features |
Underocean
The gameworld under the Medievia ocean is unique in many ways.
1) You face a direction. NORTH does not go north, it goes forward. EE
turns right. WW turns left. SOUTH goes backwards but keeps you facing
your current direction. UP and DOWN do just that.
2) The display is exotic. What you are shown is a display of the ocean
water in front of you, 20 rooms forward, 21 high and 21 wide.
21 X 21 X 20 = 8,820 rooms the game checks to create your display
every time, amazing! Up to down is higher and deeper in the ocean. Left
to right depends on what direction you are facing. The key here is that
you are looking FORWARD and the distance of what is shown is done via
colors, darker being further away and brighter closer.
Red = 14-20 rooms forward
Magenta = 9-13 rooms forward
Yellow = 5-8 rooms forward
Green = 2-3 rooms forward
Cyan = 1 room forward
White = 0 rooms forward
1-9 = number of players, more than 9 players comes up as 9 for the
room.
a-Z = mob strength in the room where Scruff by himself is like a 'h'
and Zeksagmak would still only rate around a 'y', not even to capital
letters. A 'Z' would be at least 198 total mob levels in the room.
This is needed as explained in #3.
3) The mobs to kill come in all kinds of normal sea life and monsters one
would expect, except this, the DM starts sending some small fry, kill
them and it sends more powerful things your way. You can keep killing
stuff and see how far you can take it. There is NO LIMIT to this. We
will track the records for each species and give medals when they are
broken. The DM will send 1,000 level 99 monsters more powerful than
Zeksagmak if players keep killing what it sends, again NO LIMIT. The
higher the level the more likely some will be aggressive but most ocean
life is amazingly peaceful unless you start pressing the DM's buttons.
For people wondering what the DM is, It is the part of the game
programmed to run your adventure and keep track of your fun. It is what
makes mob factions, sometimes to help you, usually to try to kill you.
HELP OCEANLIFE explains all of the critters in detail.
NOTES:
- You need 'Breathe Water' spell to live underwater and to cast this
you need an AQUODERM's lung, see HELP AQUODERM.
- You do not auto follow the formation leader under the ocean.
- There are seahorses to mount and the NN command instructs the seahorse
to head towards the formation leader. They only appear at 20+ down.
- You can just walk into the ocean and walk out.
- You can have a dragon drop you into the ocean via 'FLY DROP'.
- You will need FAE magic to live underwater but you get some when you
kill stuff so BRING A FAE ORB!
- The deeper you go the less FAE is required to live.
- The bottom of most of the ocean is 252 rooms down.
- The deeper you go the more heal spells heal, to a great degree!
- There is a Kraken's swim bladder you can hold that can help you move
very quickly UP and DOWN as well as 'stick' to the ocean floor.
See HELP KRAKEN. You use the UU and DD commands to move in this way.
- 'Wizard Eye' spell works underwater to show you the normal map.
- 'Sense Weather' shows you where about you are.
- You can dive under the ocean from a ships crow's nest via 'SHIP DIVE'.
- You can board a ship by swimming under it and going UP, you need
permission.
- You go to Davy Jone's Locker when you die.
- GAMEINFO FAE shows fae breakdown including under ocean fae.
- GAMEINFO FAE UNDEROCEAN shows a chart for underocean fae last 60 days.
- GAMEINFO UNDEROCEAN keeps track and ranks all players for fae gained
under the ocean in last 30 days. Note that this only records if you gain
100,000+ fae before leaving the ocean, and then like most gameinfo stats
it only shows up after one restart.
The spell SENSE UNDEROCEAN shows the map of the world along with each
sectors current underocean lifeform activity in max size shown in feet.
Some further notes on the display as some players will not be able to wrap
their mind around it:
Left to right its 2 per room so you can see both players and mob strength
in a room. If you see a green 3h above to your right in the display, that
means there are 2 players and some mobs of medium power in that room and
green means its just 2-4 rooms forward. It being above you means they are
higher so go up, and to the right, you can either EE to turn right then go
N-Forward, or go e and side step that way.
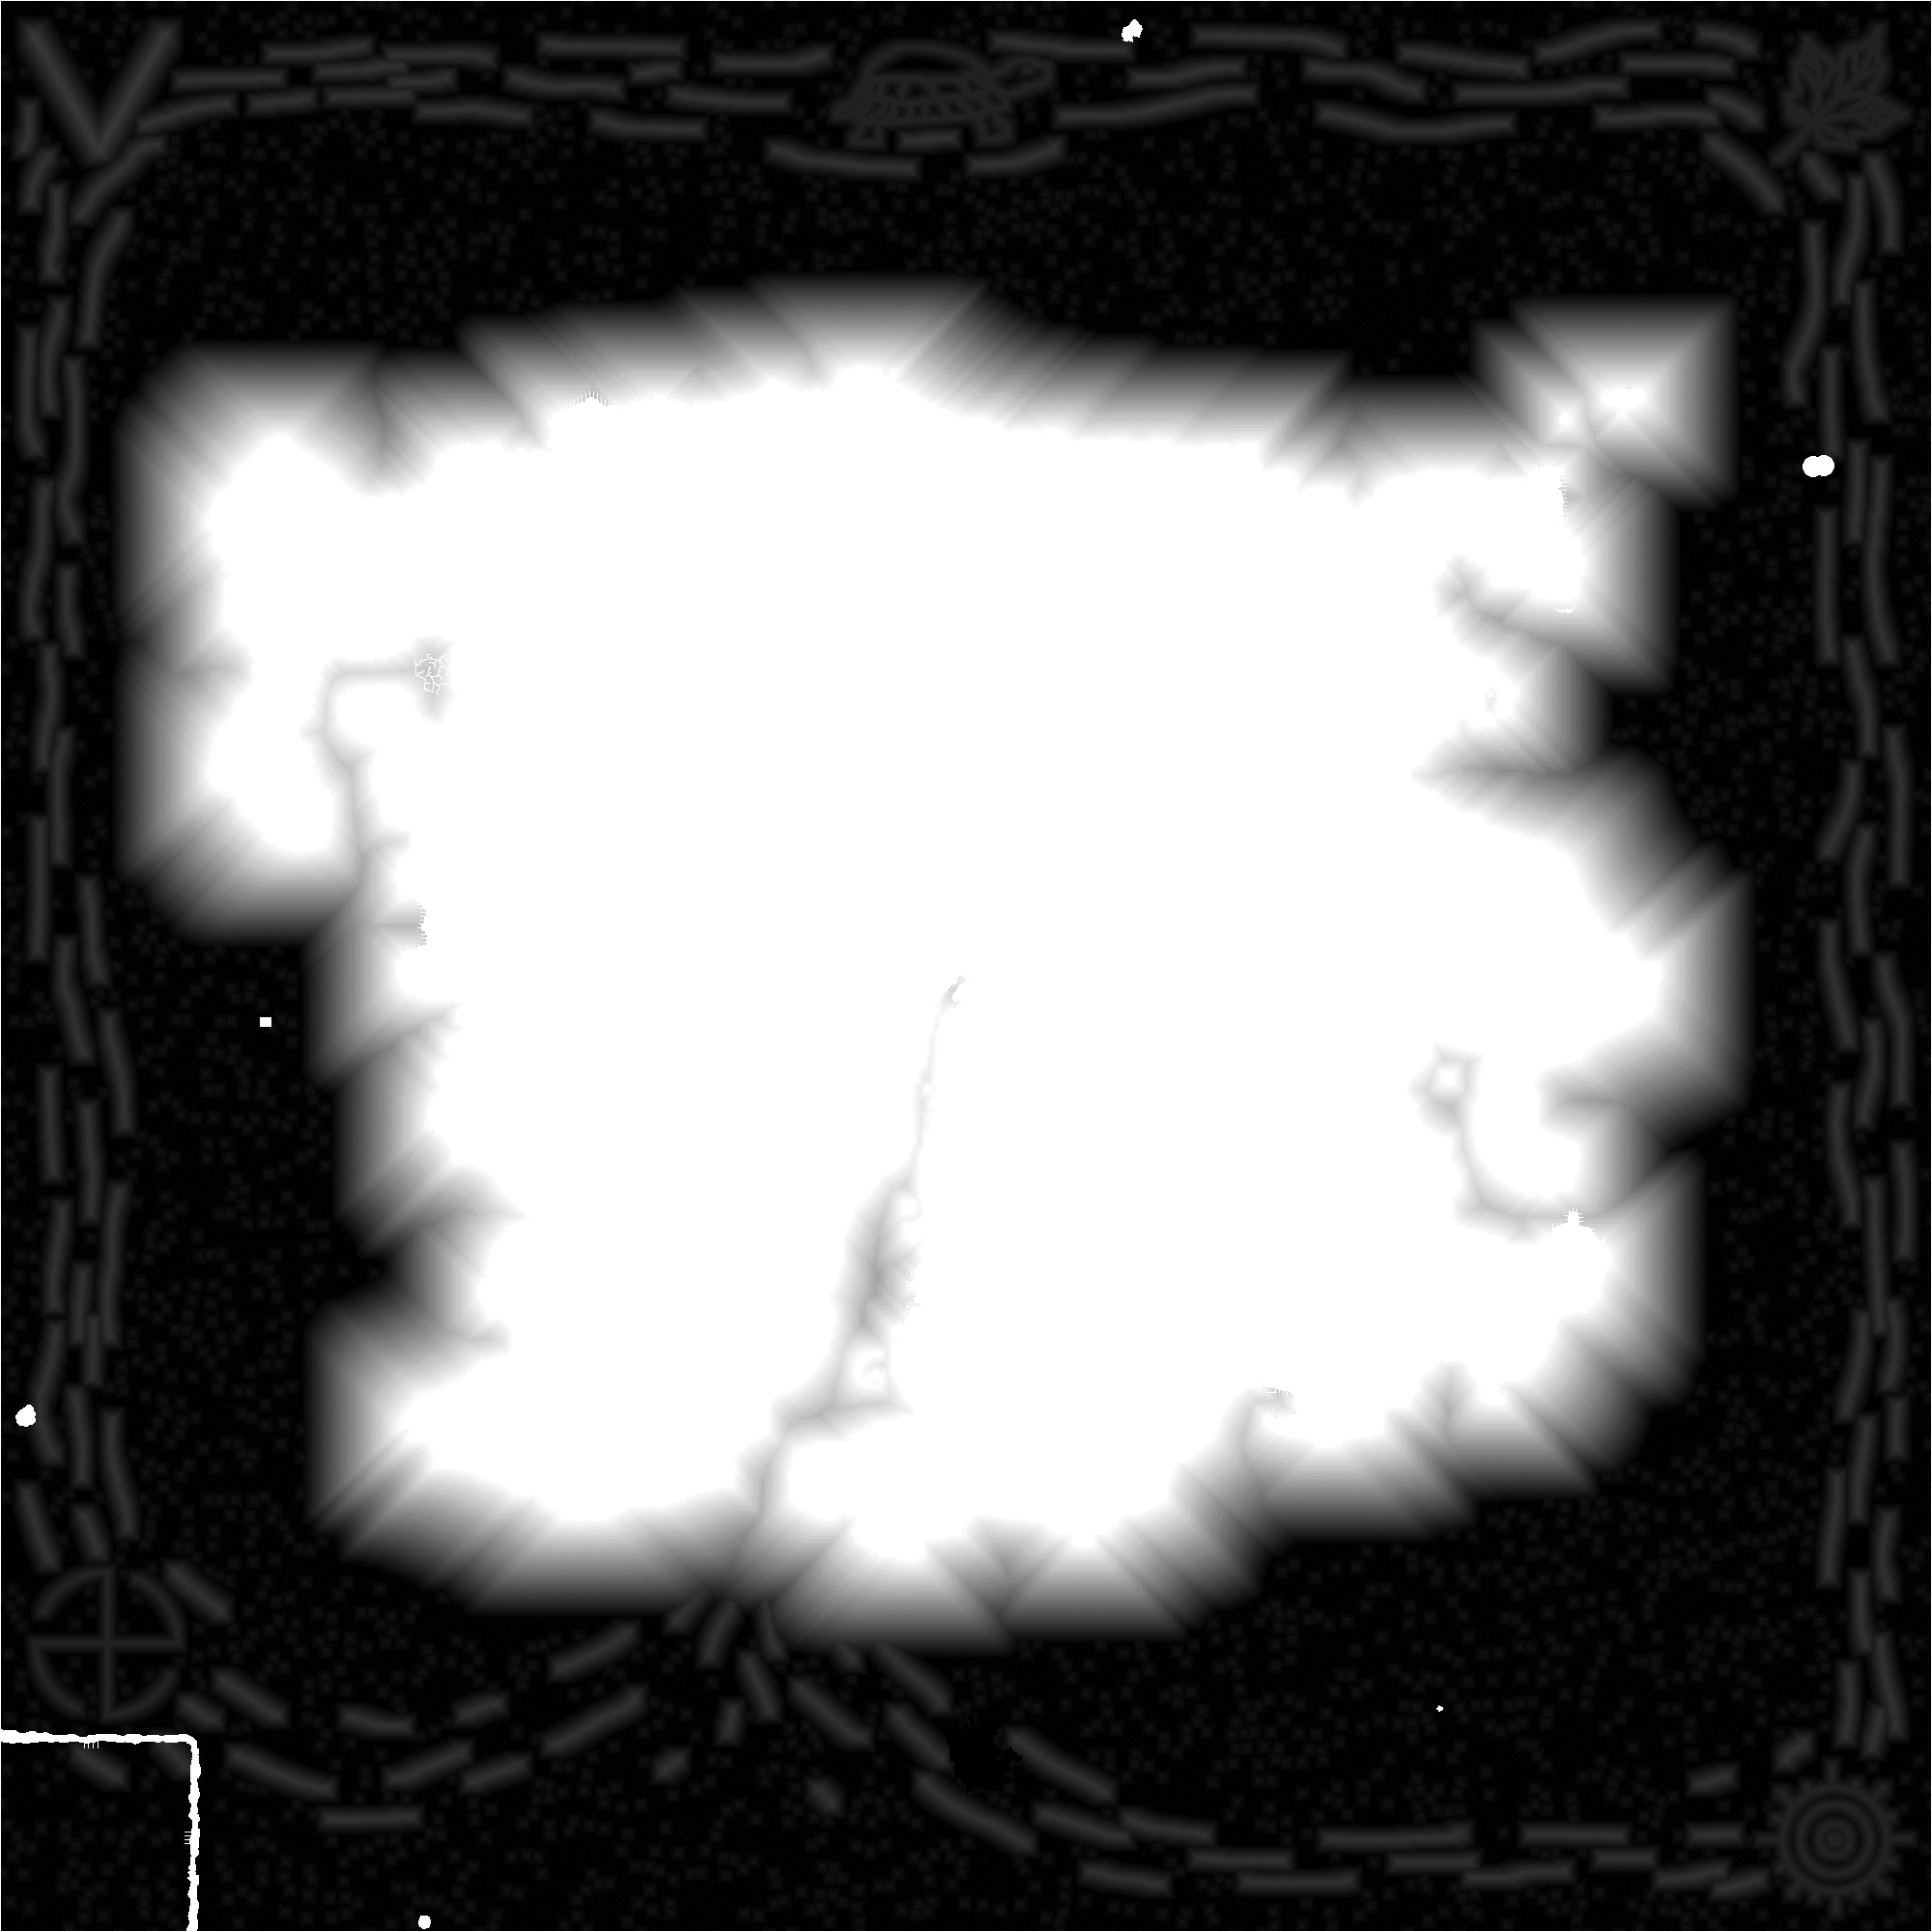
The topography of the bottom of the ocean can be seen at:
http://www.medievia.com/f/underocean.html
That image showns the map as depth data. Pure white is land, pure black is
252 down and the bottom. The equation that makes this will change over
time. To start most of the ocean bottom will be amazingly flat.
NOTE: The grey is the underwater land sloping away as it gets deeper.
NOTE: When you face this land underwater it is shown as colored dots, same
color scheme. If you have a whole screen filled with green dots then you
must be underwater facing a solid vertical wall 2-4 rooms ahead of you.
This will confuse the you know what out of some people until they wrap
their head around the concept of 'looking forward' in 3d space.
To wrap your mind around what is happening if you are confused turn a lot
via EE a few times or WW, spin around and face different directions, also
try backing up via a few south commands. Turning will help you see this
sloping underwater land for what it is and help you understand the
display.
Much more to come soon!
OCEANLIFE
These are the main fodder critters the DM creates for you under the ocean.
When you kill one type, another is made a bit more powerful, and then
again and again with no limit. Every mob in the game has a max level of
99, but not these critters. They all share the same possibilities and
design factors which are described below. In general their size in feet is
their level / 3. If you see a 10 foot shark you know it is level 30. Each
level comes with a base HP, AC, DamRoll, etc and are then used against a
multiplter for the species.
We keep 2 records for each species:
1 - SOLO KILL: The players name, size of critter in feet, and date for the
largest killed solo yet.
2 - KILLING BLOW: The players name, size of critter in feet, and date for
the player to get the killing blow on the largest killed yet.
There are 2 medals, one for each above when a record is broken.
The amount of FAE earned for killing underocean critters depends solely on
its size in feet and is very predictable. The fae is split equally between
all formation players alive in the room.
We keep track of the amount of fae per day total earned under the ocean
via GAMEINFO FAE to see its part of the daily fae breakdown or you can
do a GAMEINFO FAE UNDEROCEAN to see the chart of recent underocean fae.
We keep track and rank all players for fae gained under the ocean in last
30 days via GAMEINFO UNDEROCEAN. Note that this is only recorded for when
you get 100,000+ fae before leaving the ocean, and like most stats of this
nature then it only shows up after the next game restart.
The spell SENSE UNDEROCEAN shows the map of the world along with each
sectors current underocean lifeform activity in max size shown in feet.
It is said that sharks have gold in their belly.
Each species has these variables and possible abilities:
- Speed 1 - 10, the higher the faster.
- HP Bonus -10 to 10.
- AC Bonus -10 to 10.
- DAM Bonus -10 to 10.
- Agression towards everyone.
- Agression in bloody rooms.
- Break room shield, can possibly break your room shield.
- School size max, if it is 30 that is max fish and 15 fish would be
average.
- Mountable, players can mount the critter.
- Ram, the critter can ram one or more players at once.
- Bite, the critter can bite a player.
- Tear, the critter can bite and tear at a player.
- Poison Tail, its tail can poison a player. We use SAVING THROWs here.
- Poison Bite, its bite can poison a player. We use SAVING THROWs here.
- Dispell Breathe Water, the critter can dispell your breathe water
affect. Note we use saving spell here, HELP SAVING SPELL. Mages and
clerics are better at keeping their breathe water.
- Drag Player, the critter can drag a player off.
- Tail Whip, the critters tail can whip one or more players at once
- Electrocute, the critter can electrocute a player which hurts a lot.
- Ink, the critter can eject ink which makes the display useless in the
area.
- Sting, the critter has stingers to sting you.
- Blind, the critter can blind you. We use saving spell and clerics and
mages are particularly good at avoiding this.
- Unform Players, the critter can unform the formation.
- Squeeze, the critter can squeeze a player causing massive damage.
NOTE: MASTERHEROs can often dodge these attacks and SERPENTHUNTERS also
have an added chance of dodging under ocean attacks.
NOTE: some spells will not work under the ocean and others are much more
effective.
IMPORTANT NOTE: You can heal many times faster under the ocean but it all
depends how deep you are. If you are at the bottom of the deepest part you
heal 5.18 times more, at 50 down it would be 83% more, at 25 down 41%
more. The deeper you go the more the heal spells do.
The following is a breakdown and feature list of each species:
FISH AND OTHER COMMON CRITTERS:
Baracuda:
School Size: 1
Speed: 6
HP Bonus: 2
AC Bonus: 2
DAM Bonus: 7
Aggression: everyone
Specials: DragPlayer
Attacks: Bite Tear TailWhip
Mackerel:
School Size: 10
Speed: 8
HP Bonus: 0
AC Bonus: 0
DAM Bonus: 0
Aggression: None
Specials: None
Attacks: Ram Bite
Sunfish:
School Size: 30
Speed: 2
HP Bonus: -4
AC Bonus: -1
DAM Bonus: -2
Aggression: None
Specials: None
Attacks: Bite
Tuna:
School Size: 20
Speed: 10
HP Bonus: 2
AC Bonus: 1
DAM Bonus: 5
Aggression: None
Specials: BreaksShieldRoom
Attacks: Ram Bite TailWhip
Electric Eel:
School Size: 1
Speed: 3
HP Bonus: 1
AC Bonus: 1
DAM Bonus: 1
Aggression: Everyone
Specials:
Attacks: Electrocute, Bite, Tear
Moray Eel:
School Size: 1
Speed: 5
HP Bonus: 4
AC Bonus: 4
DAM Bonus: 5
Aggression: Everyone
Specials: DragPlayer
Attacks: Bite Tear
Manta Ray:
School Size: 1
Speed: 3
HP Bonus: 5
AC Bonus: 5
DAM Bonus: 5
Aggression: None
Specials:
Attacks: Bite PoisonTail TailWhip Sting Blind
Electric Ray:
School Size: 1
Speed: 3
HP Bonus: 1
AC Bonus: 2
DAM Bonus: 3
Aggression: Everyone
Specials:
Attacks: Electrocute, Bite, PoisonTail, TailWhip, Sting, Blind
Ink Ray:
School Size: 10
Speed: 2
HP Bonus: 3
AC Bonus: 2
DAM Bonus: 1
Aggression: None
Specials: Ink, BreaksShieldRoom, DispelBreatheWater
Attacks: Ram, Bite, Blind, TailWhip
Wolf Ray:
School Size: 30
Speed: 2
HP Bonus: 2
AC Bonus: 2
DAM Bonus: 8
Aggression: Everyone
Specials:
Attacks: Bite, PoisonTail, TailWhip, Sting, Blind
SHARKS:
Hammerhead Shark:
School Size: 10
Speed: 5
HP Bonus: 2
AC Bonus: 2
DAM Bonus: 7
Aggression: BloodyRooms
Specials: BreaksShieldRoom, DispelBreatheWater
Attacks: Ram, Tear, Bite, Unform
Whale Shark:
School Size: 1
Speed: 1
HP Bonus: 10
AC Bonus: 10
DAM Bonus: 2
Aggression: None
Specials: DragPlayer, UnformPlayers, BreaksShieldRoom
Attacks: Squeeze, Bite, Ram, TailWhip
Tiger Shark:
School Size: 20
Speed: 5
HP Bonus: 4
AC Bonus: 4
DAM Bonus: 5
Aggression: BloodyRooms
Specials:
Attacks: Tear, Bite, TailWhip
Wolf Shark:
School Size: 30
Speed: 6
HP Bonus: 3
AC Bonus: 3
DAM Bonus: 6
Aggression: BloodyRooms
Specials:
Attacks: Tear, Bite, TailWhip
Horn Shark:
School Size: 1
Speed: 1
HP Bonus: 8
AC Bonus: 8
DAM Bonus: 8
Aggression: Everyone
Specials: DragPlayer, BreaksShieldRoom, UnformPlayers
Attacks: Tear, Bite, Ram
WHALES:
Killer Whale:
School Size: 12
Speed: 6
HP Bonus: 4
AC Bonus: 3
DAM Bonus: 9
Aggression: Everyone
Specials: DragPlayer, DispelBreatheWater
Attacks: Tear, Bite, Ram, TailWhip
Tiger Whale:
School Size: 30
Speed: 4
HP Bonus: 2
AC Bonus: 2
DAM Bonus: 3
Aggression: None
Specials:
Attacks: Tear, Bite, Ram, TailWhip
REPTILES:
Sea Snake:
School Size: 15
Speed: 4
HP Bonus: 2
AC Bonus: 2
DAM Bonus: 4
Aggression: Everyone
Specials:
Attacks: Bite, PoisonBite, TailWhip
Sea Turtle:
School Size: 4
Speed: 1
HP Bonus: 10
AC Bonus: 10
DAM Bonus: 3
Aggression: None
Specials:
Attacks: Bite, Tear, Ram
OTHER:
Ocotopus:
School Size: 1
Speed: 1
HP Bonus: -3
AC Bonus: -3
DAM Bonus: 8
Aggression: None
Specials: Ink, DragPlayer, BreaksShieldRoom, UnformPlayers,
DispelBreatheWater
Attacks: Squeeze, Bite, Sting, Blind
Jellyfish:
School Size: 50
Speed: 2
HP Bonus: -10
AC Bonus: -10
DAM Bonus: -10
Aggression: None
Specials: Ink
Attacks: Sting, Blind, PoisonBite
Fae Crabs:
School Size: unlimited
Speed: 1
HP Bonus: 10
AC Bonus: 10
DAM Bonus: 10
Aggression: Everyone
Specials: DragPlayer, BreaksShieldRoom, UnformPlayers
Attacks: Squeeze, Tear
SPECIALS:
Mermaids:
The DM may send mermaids to help you. They will follow you and try
to protect you for a while.
Dolphins:
The DM may send dolphins to help you. They will follow you and
protect you but not against sharks.
Camo Whale:
This camouflaged whale appears out of no where and swallows your
enemies in one bite! The DM must love you when this happens. It
will not swallow large creatures.
SeaHorses:
These are mountable under ocean creatures. Note the command NN
commands your seahorse to head towards the formation leader
assuming the leader is mounted on a seahorse as well. They only
appear over 20 depth. When mounted you have a 90% less chance of
being dragged away or unformed.
NOTE:
- There is a special ARCHERY weapon for underwater and they are very
effective!
- Acid blast does nothing underwater.
- Lightning spells are more powerful underwater.
Copyright © 1992- Medievia.com, Inc. All Rights Reserved. For more information contact: Webmistress: Soleil |